

Our house is 25 years old and so there are many things that need a little facelift. One of them was our bathroom mirror. I hated that it was so plain, but didn't want to spend a bunch of money on a new mirror. And - how would I get it home?!

Here's what it looked like before. Very plain.
So, we went to Home Depot or Lowe's, I can't remember and looked at their selection of Crown Molding. There are many options for that.


and came home with it.
I think we had to get 4 pieces because we have one continuous mirror over 2 sinks. I think each one was around $8. If the mirror is smaller then you might not need a full piece for each side.


Now - here's where it gets a bit tricky. This is definitely a TWO person job!

Work quickly and diligently. Put Loctite on the back of the bottom one.

Then set the bottom one FIRST (disregard the picture that has others already up there).

Then continue to Loctite each part and start to set them. Put painters tape on as needed. But please, make sure they are straight and square. You will be pushing and moving them around until they look right.

As one person holds them, the other can maneuver them.

Since our mirror was a couple inches off the counter I put little wooden pieces under it to help it set, this was a lifesaver!!!
Then it's all set and let it dry!!
Remember the beginning??
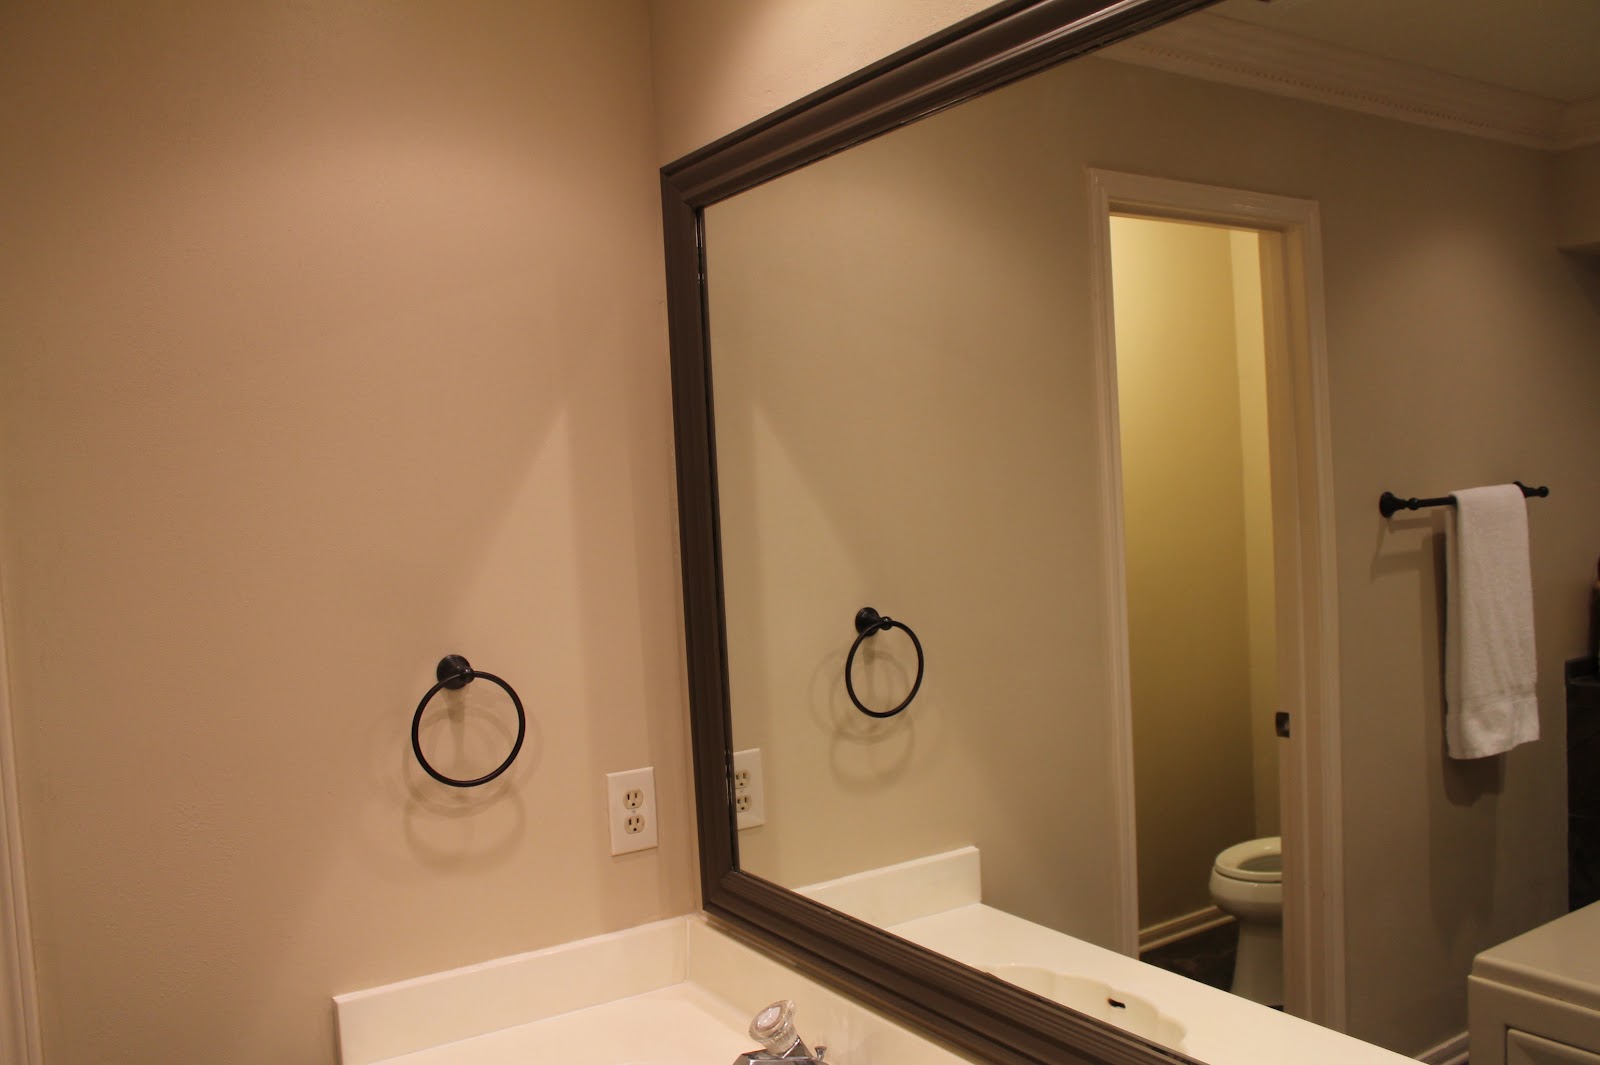
Now check out the after, what a huge difference!!
Now that I know what how cheap, relatively easy, and what a difference it makes.. I'm think the next project are the mirrors in the rest of the house!

No comments:
Post a Comment